First a connection that pairs the vCenter servers and their associated SRM servers between the two sites.
Once the connection between the two sites has been set up you have to configure Resource Mappings, Folder Mappings, Network Mappings, and Placeholder Datastores for both sites. Theses mappings just tell SRM what resource pools to place VMs in and where to connect their NICs if they are failed to the remote site.
I am mapping my host resource from my “site 1” to a resource pool on “site 2” called SRM-SITE1 and the host resource from “site 2” to a resource pool on “site 1” called SRM-SITE2. These mappings need to be done for both sites.
There is only one VM Network so the NICs connected to it on “site 1” will be connected to the VM Network on “site 2”. This also needs to be done for both sites.
A placeholder datastore also needs to be configured for each site. The datastore contains configuration information, a placeholder .vmx file, for the protected VMs at the recovery site. Since each site in my lab environment consist of just a single ESXi host I am using the local datastore of each host as the placeholder datastore.
Now we need to install the Storage Replication Adapter (SRA) on both SRM servers. This allows the SRM server to integrate with the storage arrays. The SRA can be downloaded from VMware or from the Array manufacturer. I downloaded the HP SRA for the LeftHand VSA from VMware. The version available on the VMware site was actually newer than the version I could find on HP’s site :/
After the SRA is installed on both SRM servers a rescan needs to be done. Once the rescan completes the installed SRAs will be displayed.
Now the Array Manager for each array needs to be configured. An array manager needs to be setup for both the local and remote array. Make sure each SRM server has network connectivity to the management interface of the local and remote array.
After the Array Managers are configured the array pairs need to be enabled. Once an array pair is enabled it is enabled for both the local and remote array. I created folders for each site just for organization.
After array pairs are enabled the replicated volumes will show with the associated remote volume and the direction of replication.
With the site connection and array integration configured a Protection Group needs to be created. This groups datastores and VMs at one site to be protected. Simply select the site and datastores where VMs that will be protected reside. All VMs that reside on the datastore selected will be part of the Protection Group.
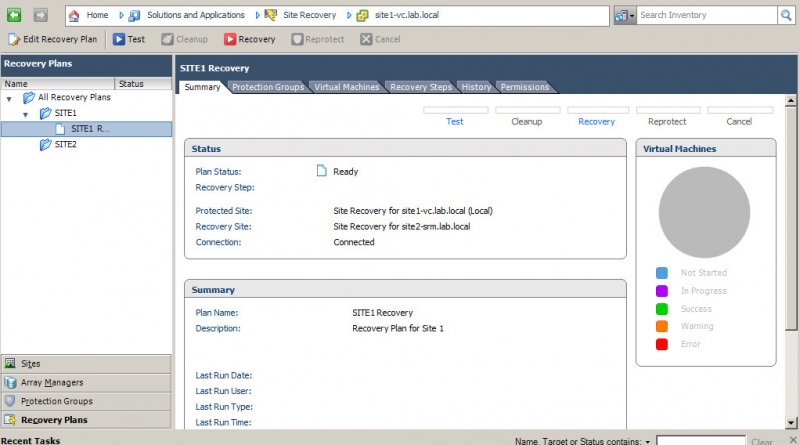
Once the Protection Group is created and configured a Recovery Plan needs to be set up. Select the site where the VMs in the plan will be recovered and then add the Protection Groups to the plan.
Setting the Test Network to Auto will cause SRM to create an isolated vSwitch on the recovery site during a Recovery Plan test. This will keep the recovered VM network isolated during a test.
Now that we have a Recovery Plan created it is time to test the plan but that is another post… 🙂