
DIY Garage Workbench
This post is not about virtualization, my home lab, or technology. Going a little low tech here to share a DIY project I did over the weekend, a mobile garage workbench using some free plans I found over at Shanty2Chic.com.
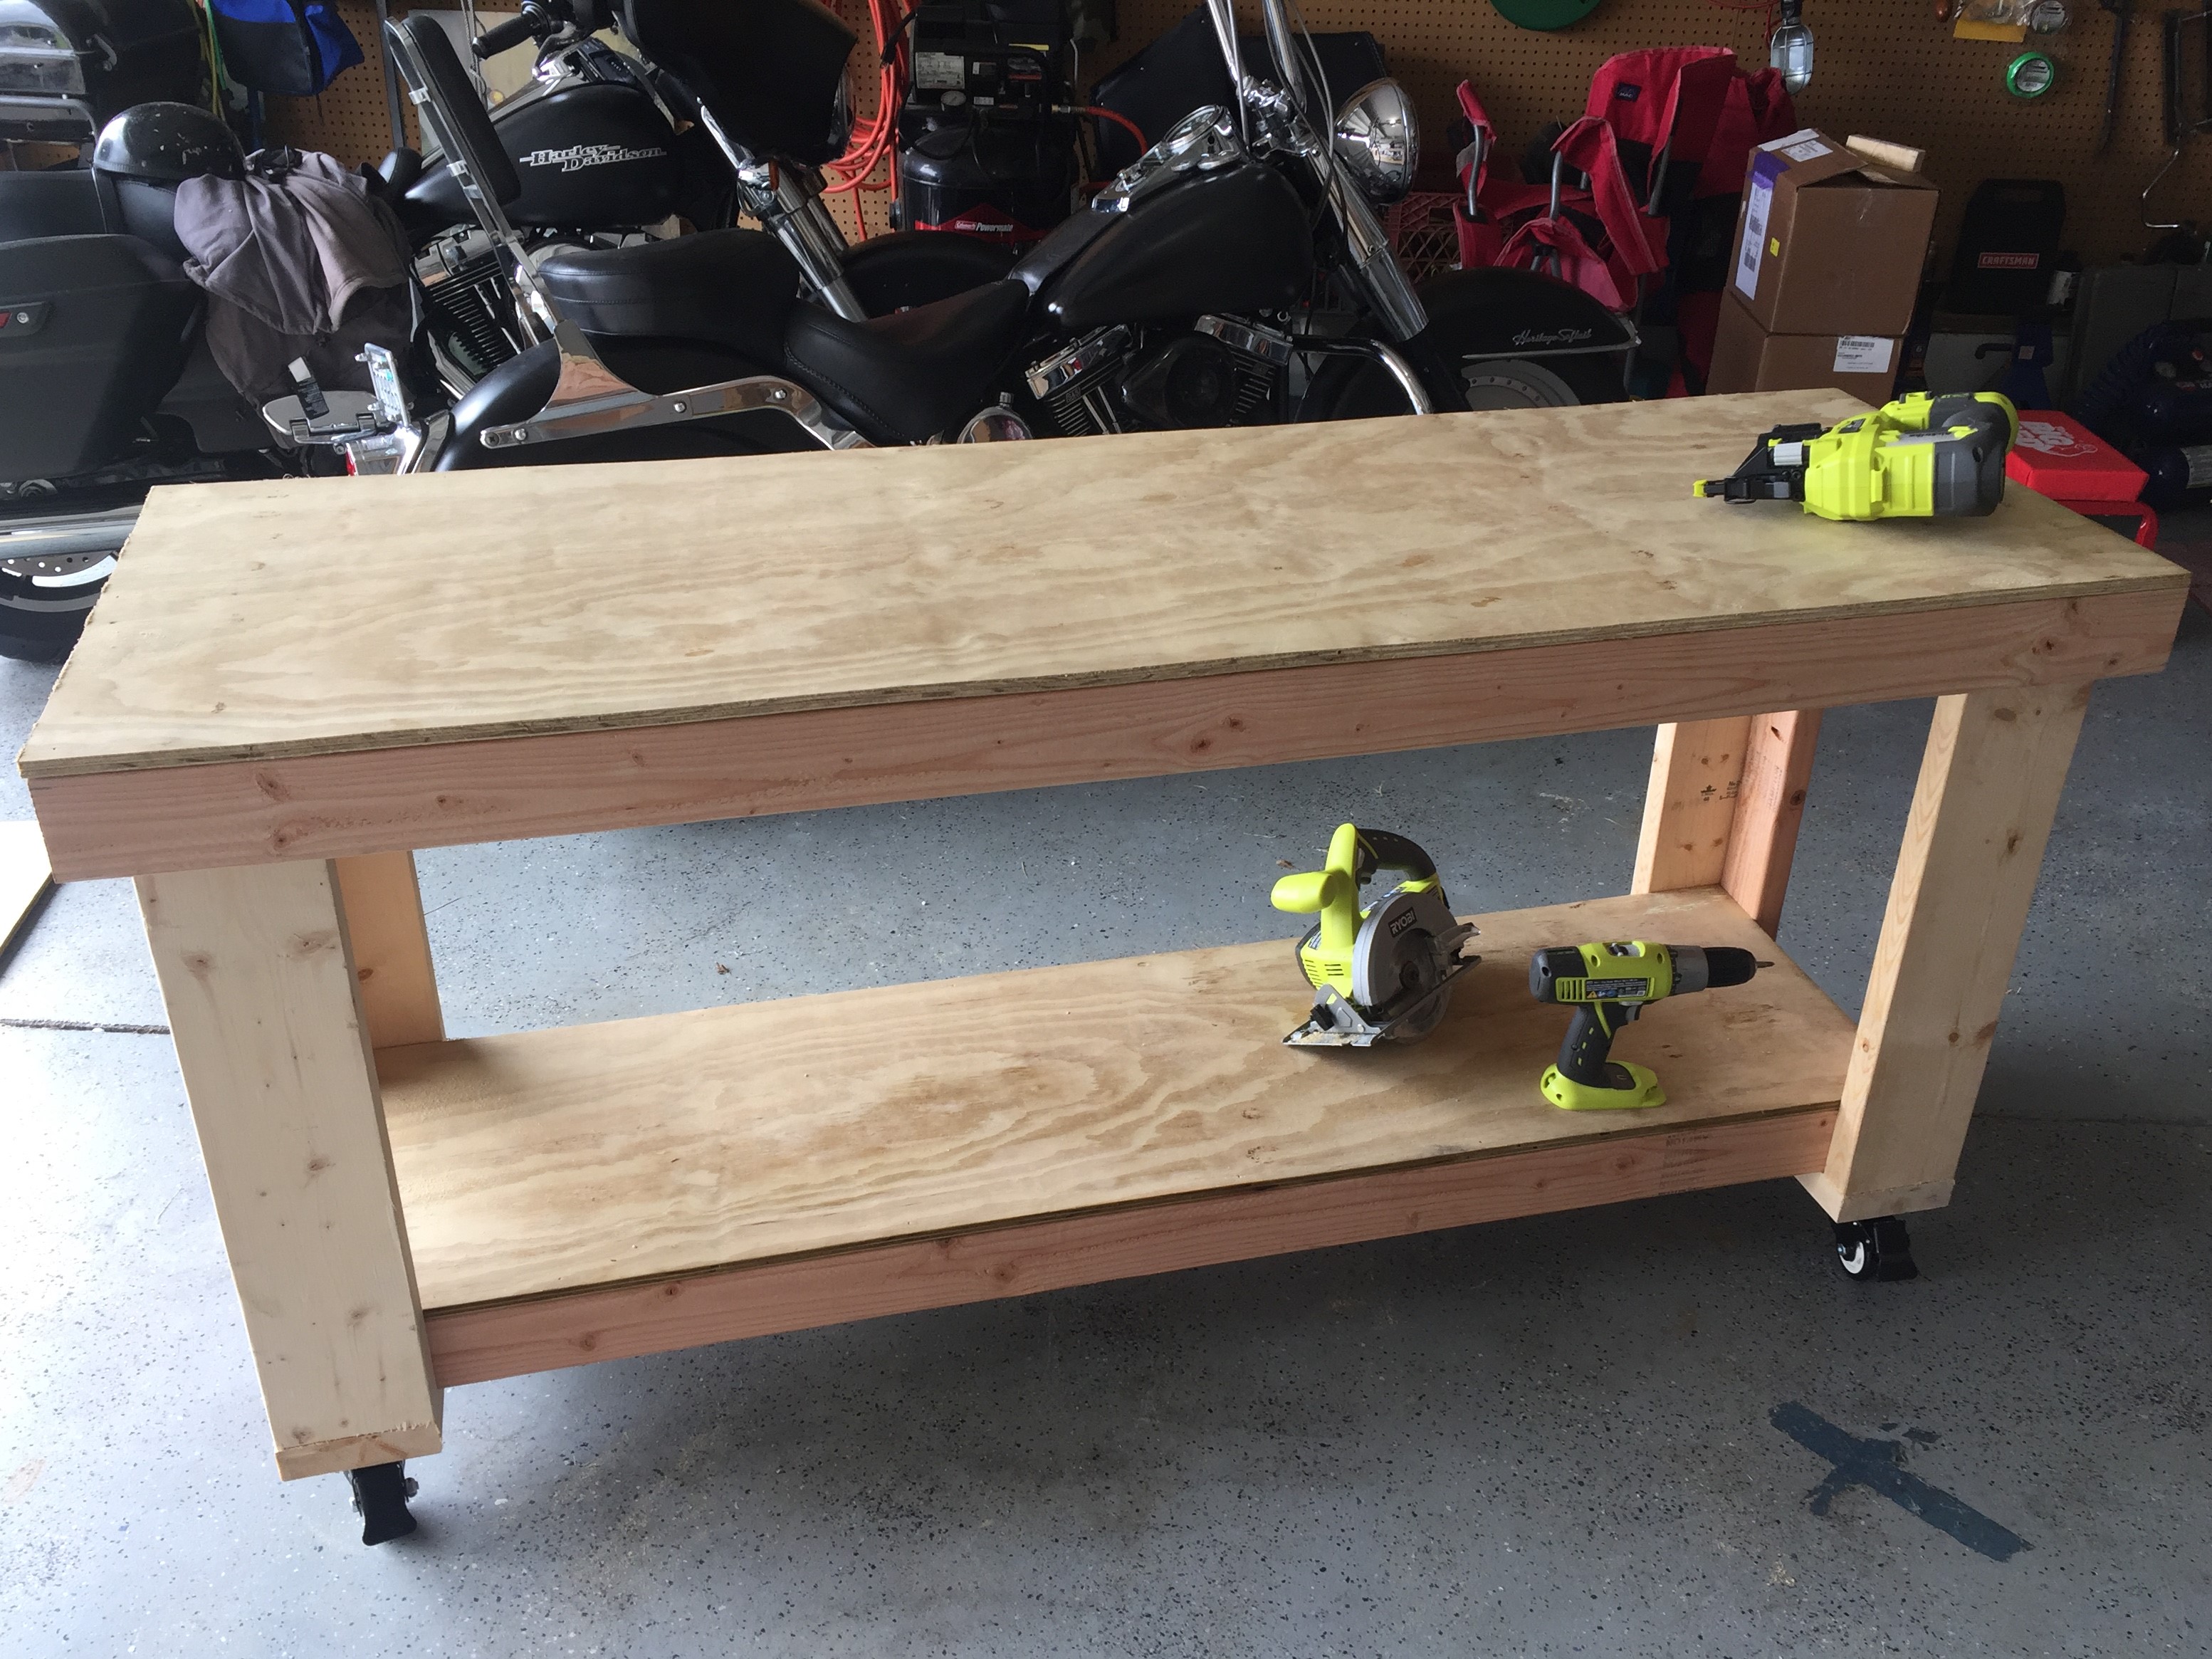
The workbench turned out really nice, is very sturdy, and easy to move around. I haven’t decided to paint it or not. Will probably just leave it raw and put a coat of clear poly on the top and shelf to seal them. The lumber and screws required to build the workbench came in at $63 from Lowe’s and the casters were $24, so all total $87 (plus the cost of the Kreg R3 Jig Kit which I will definitely be able to use for other projects). Took just a few hours to put it all together. Going to modify the plans a bit to build a 4′ one out of pressure treated wood for wife to use as a potting bench.
I made some adjustments to the plans to make work area 6′ long instead of 8′. I also adjusted things to make the work surface a little taller . The plans as they are will put the work surface right around 30″ depending on the size of the casters used, and this was a bit low for my liking. Since the casters I picked up on Amazon are 4.25″ inches high, I added 1 3/4 inches to the leg support cuts to bring the height of the work surface to around 34″. I used a 1/2″ piece of plywood for the top and shelf, since I used 1/2″ instead of 3/4″ I added an additional cross supports to the top and shelf.
Here are the modifications I made to the cut list to reduce the work surface length to 6′ and increase the height to ~34″ (28″ leg supports + 1.5″ base + 4.25″ locking casters + 1/2″ Plywood):
- Change 96″ Plywood top to 72″
- Change 90″ Plywood shelf to 66″
- Change 96″ (2×4) to 72″ (2)
- Change 90″ (2×4) to 66″ (2)
- Change 26 1/4″ (2×4) to 28″ (4)
- Change 26 1/4″ (2×6) to 28″ (4)
- Add one 14 1/2″ (2×4) – 4 Total for shelf
- Add one 20 1/2″ (2×4) – 4 Total for top
These are the locking casters I used. The wheels are 3″ and the overall height is ~4 1/4″.
Of course one of the reasons to try a new DIY project is to have an excuse to pick up some new tools. For this project I obtained the Kreg R3 Jig Pocket Hole Kit. Pretty neat little tool and made joining the parts a breeze. The joints are also very sturdy.
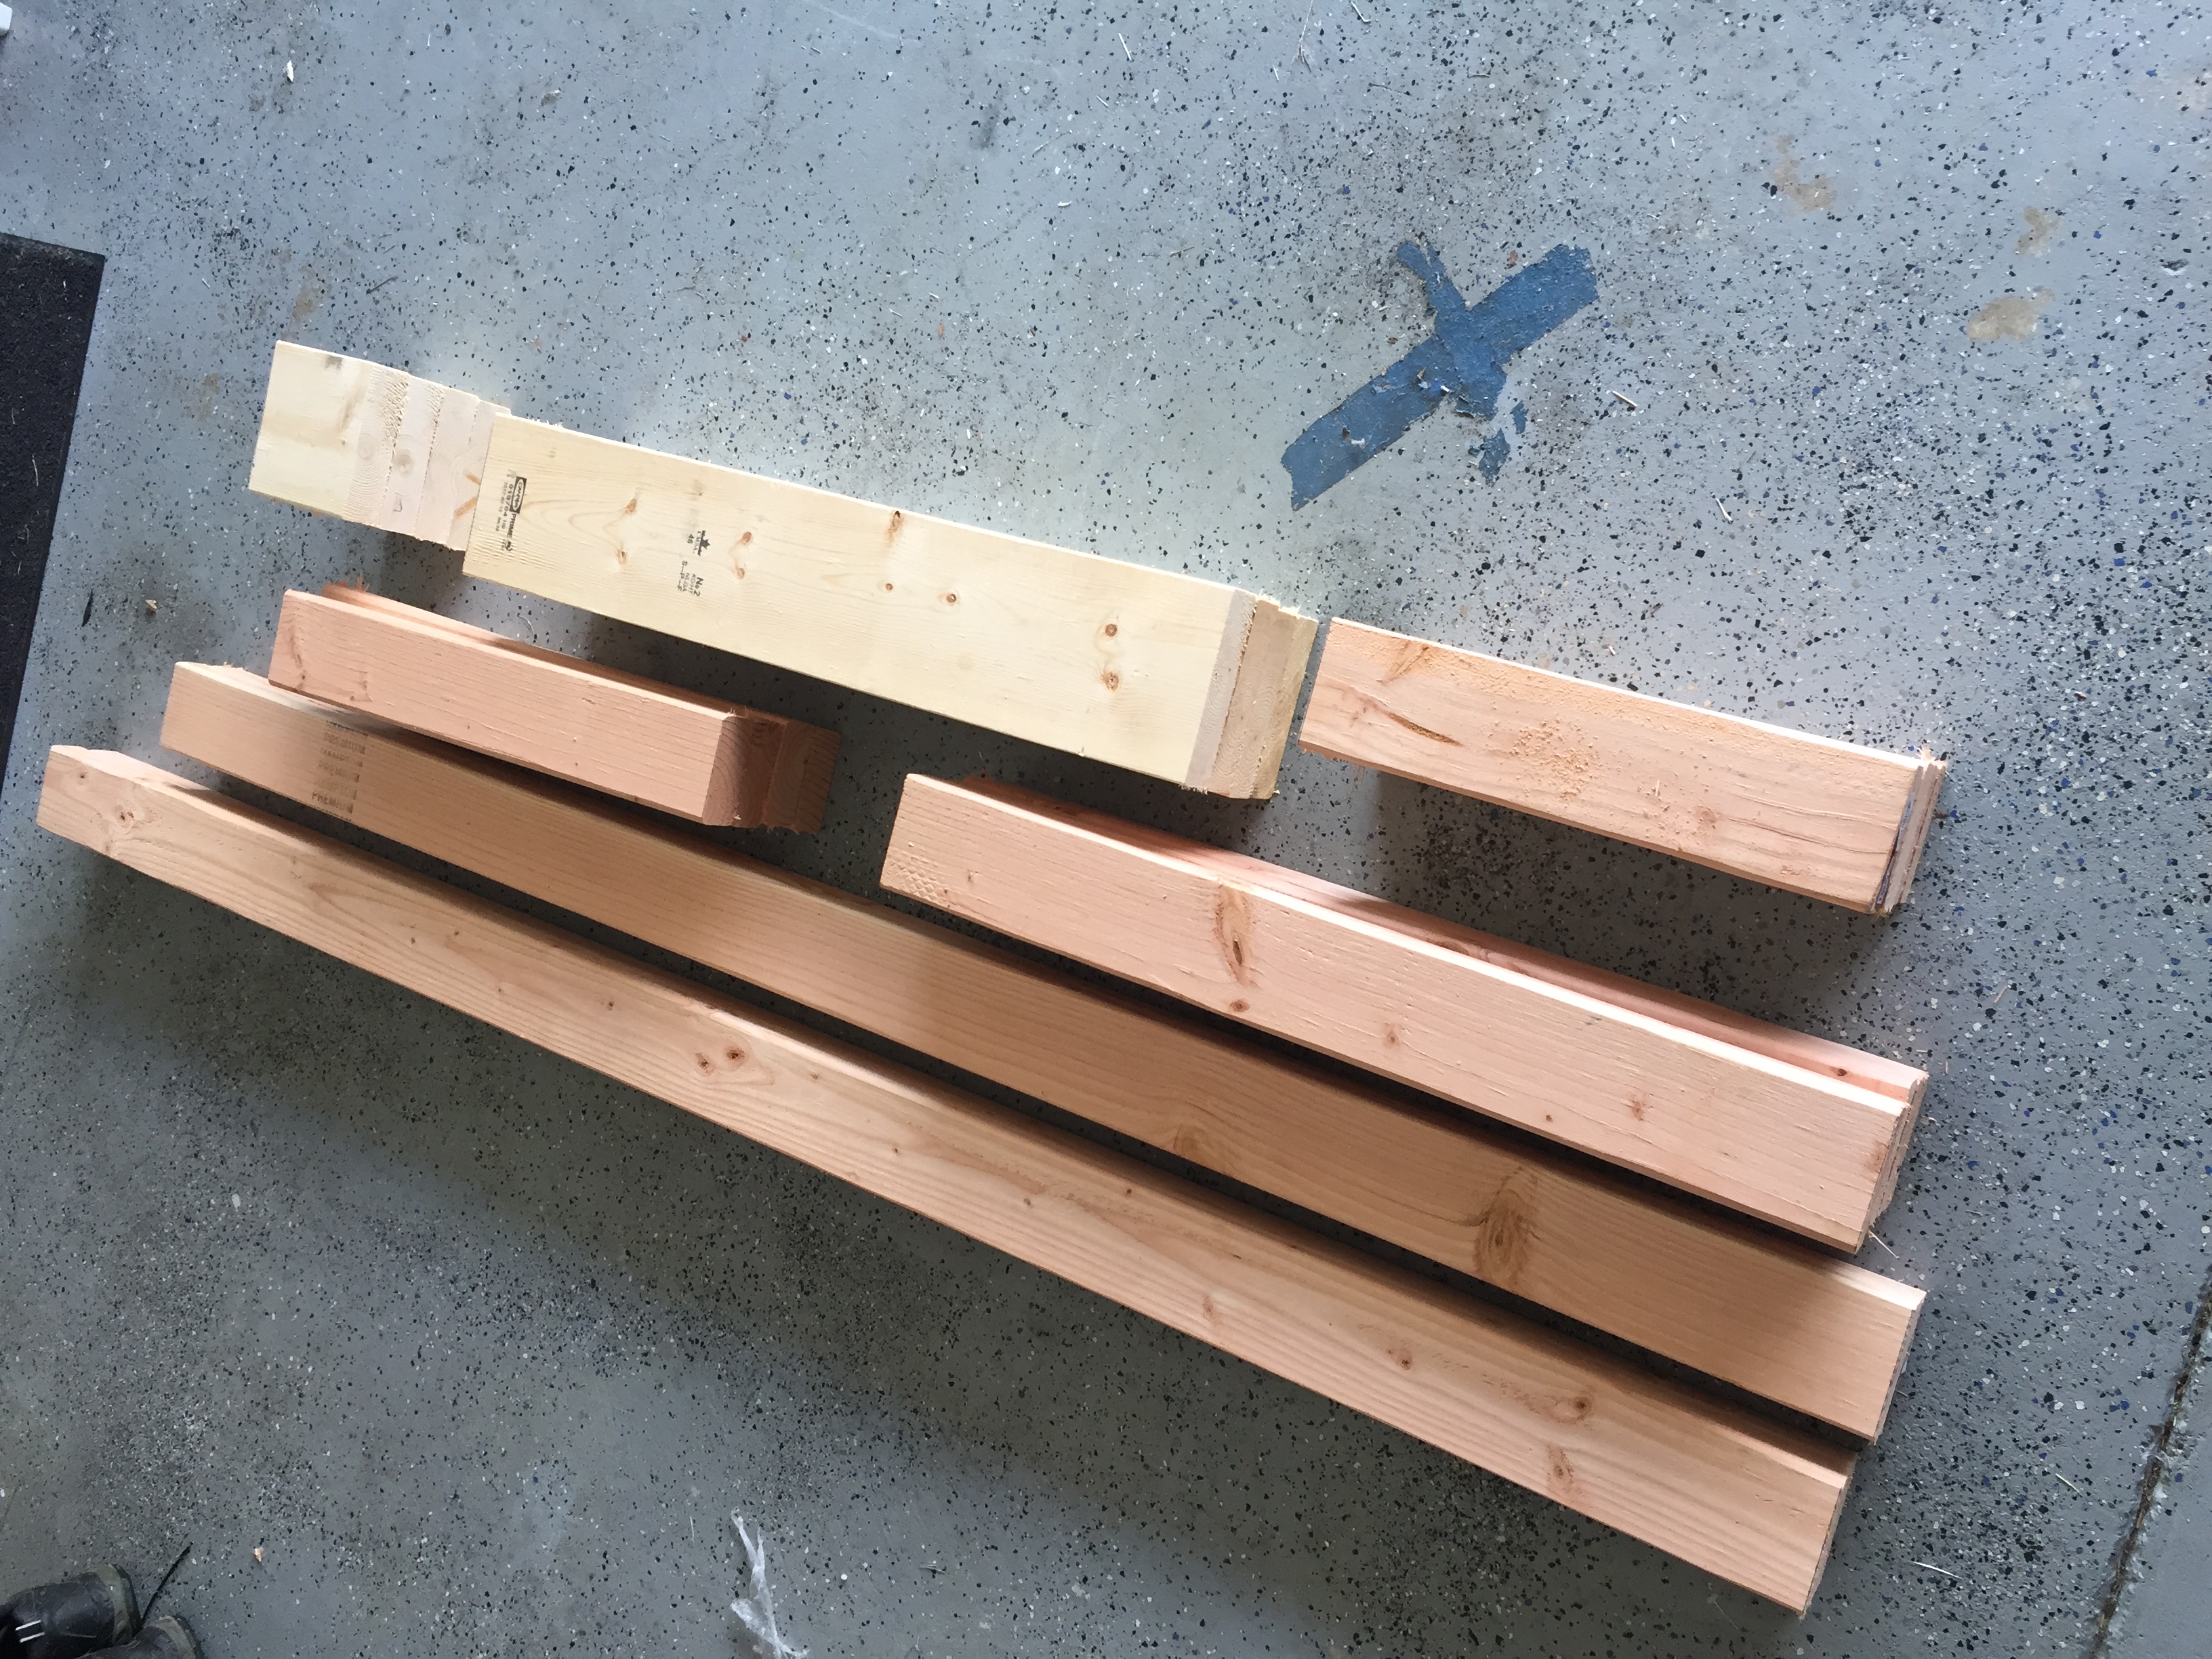
Started off making the cuts to the 2×4 and 2×6. I pre-cut everything but the plywood, want to take a measurement after I get it all assembled so I can adjust the cuts for the top and shelf if needed.


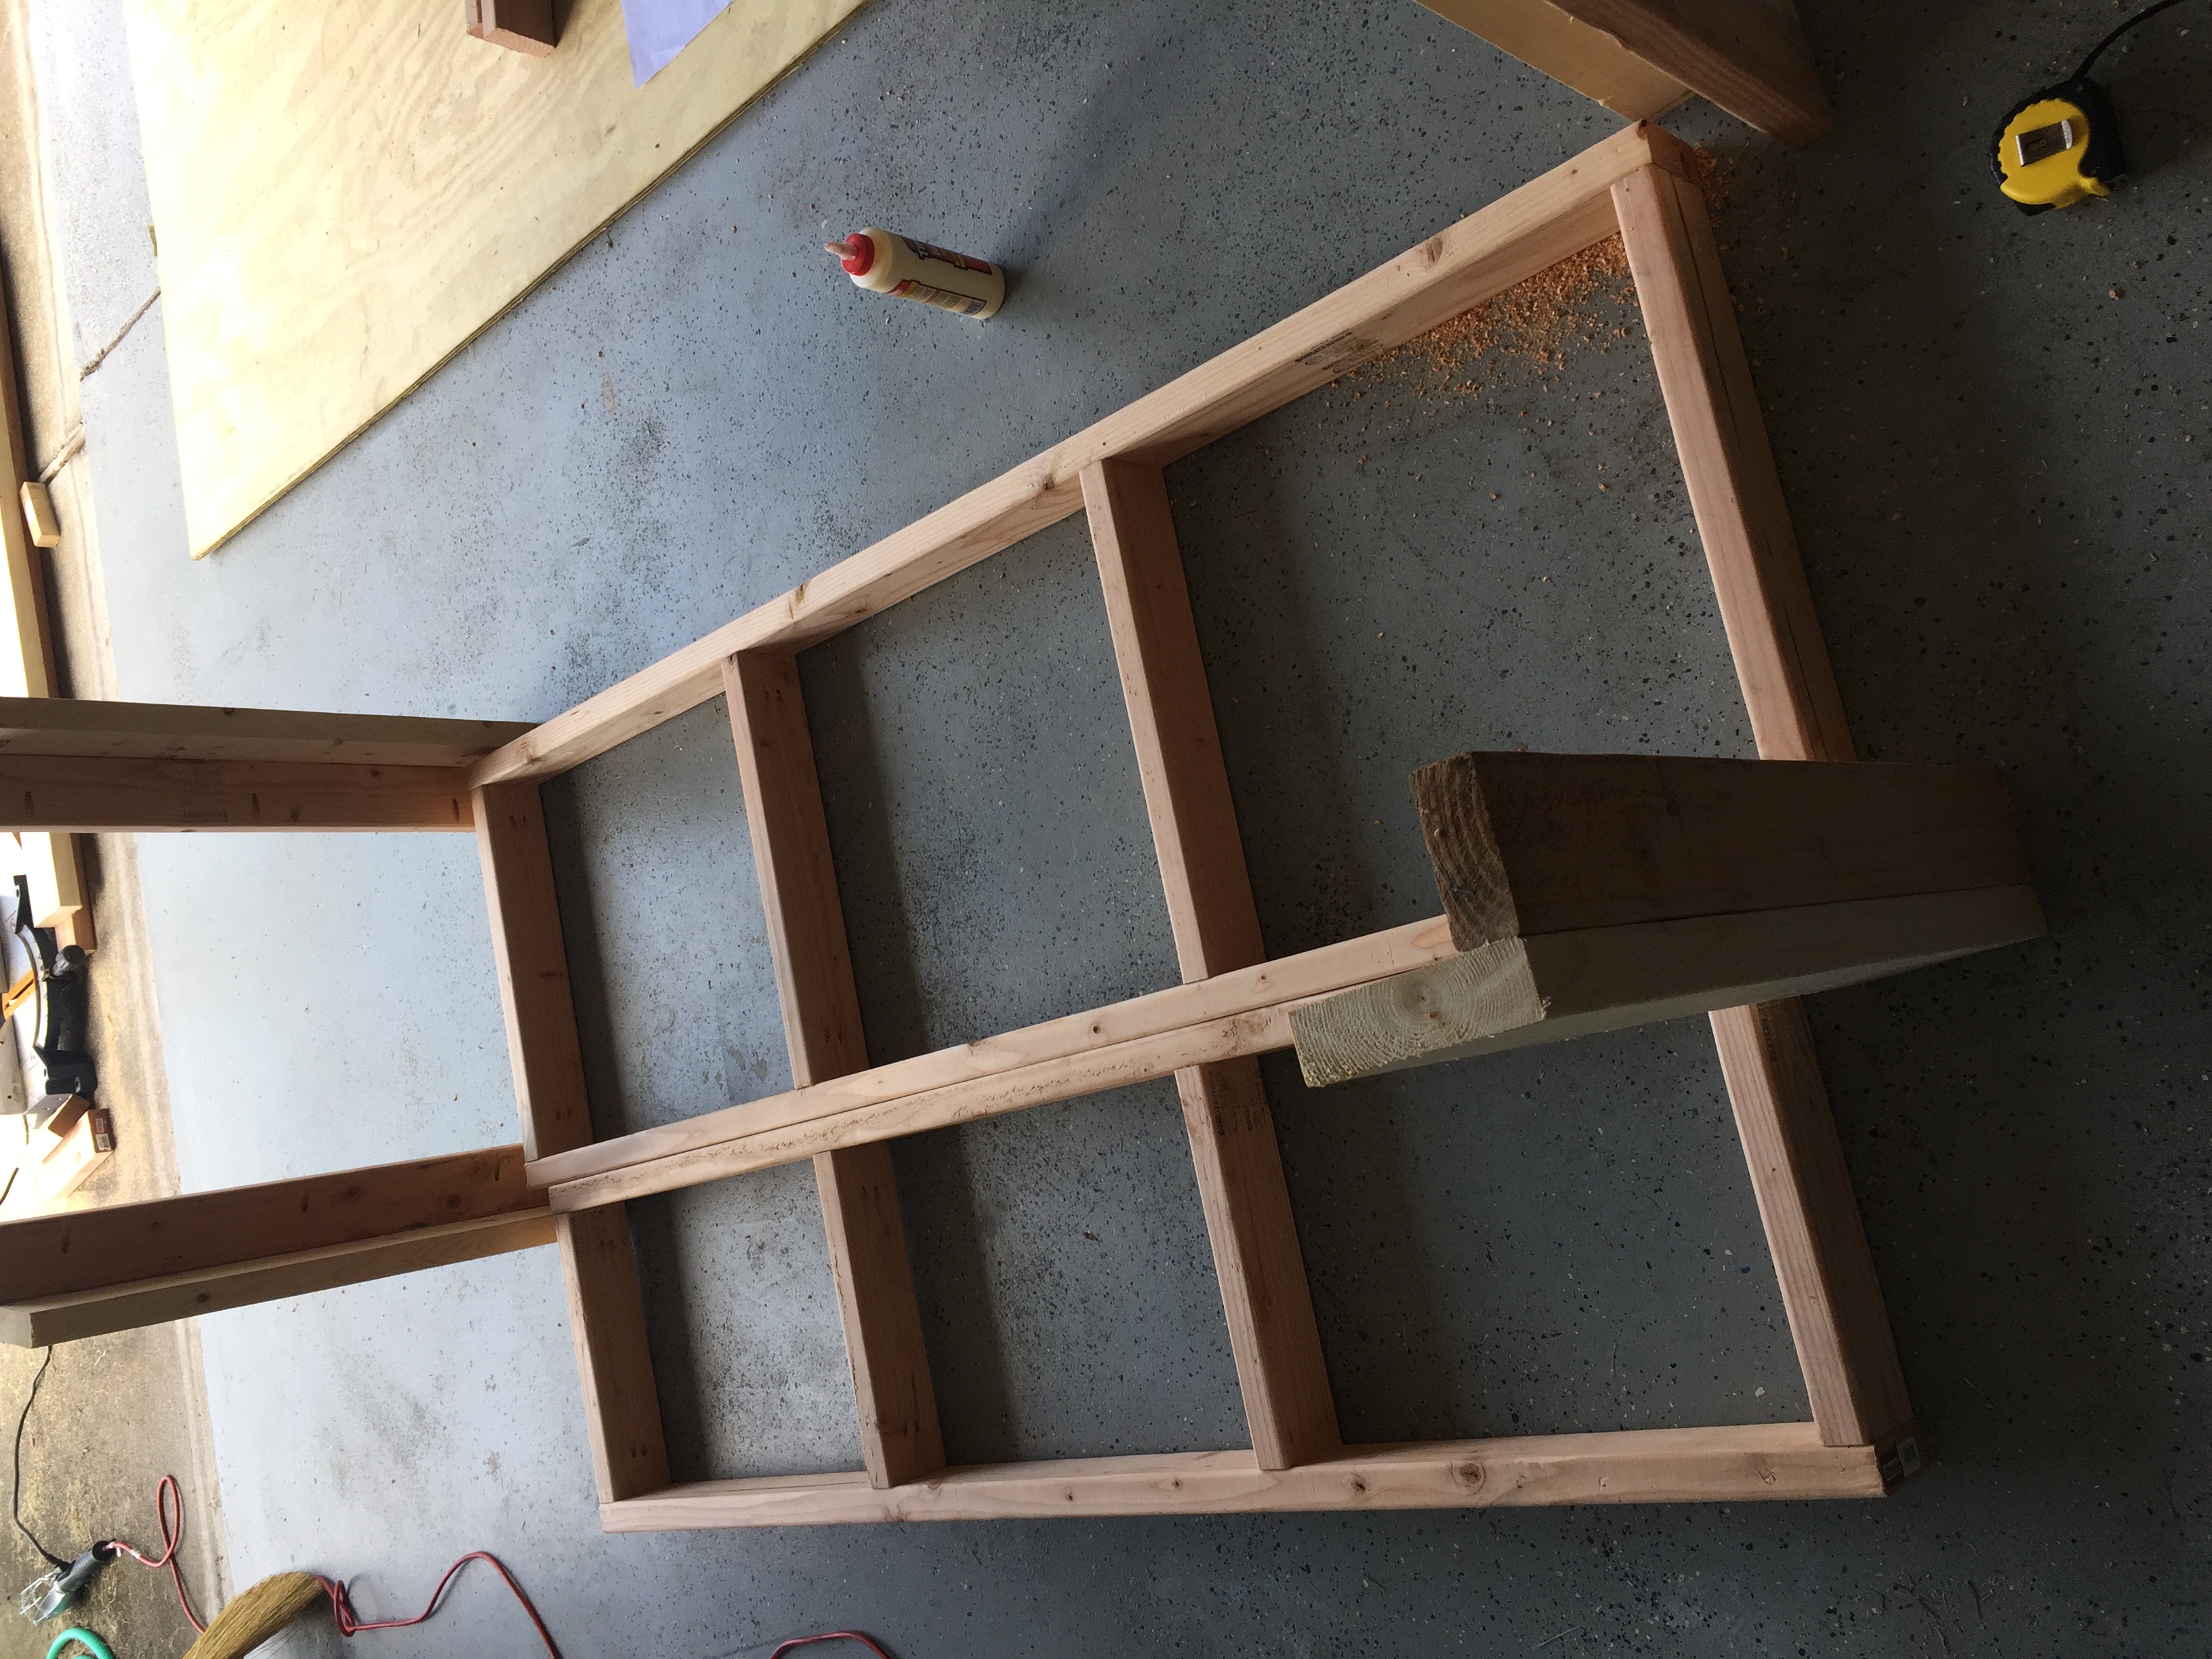
Drilled all the pocket holes using the Kreg R3 Jig. Using the garage floor as a work surface, cause I don’t have a workbench, yet 🙂

Assembled the frame for the top and shelf. Added the additional cross supports to the top and shelf frame instead of just the one in the middle. Joined the 2×4 and 2×6 cuts to create the four legs/supports. Added a bead of wood glue to all joints.
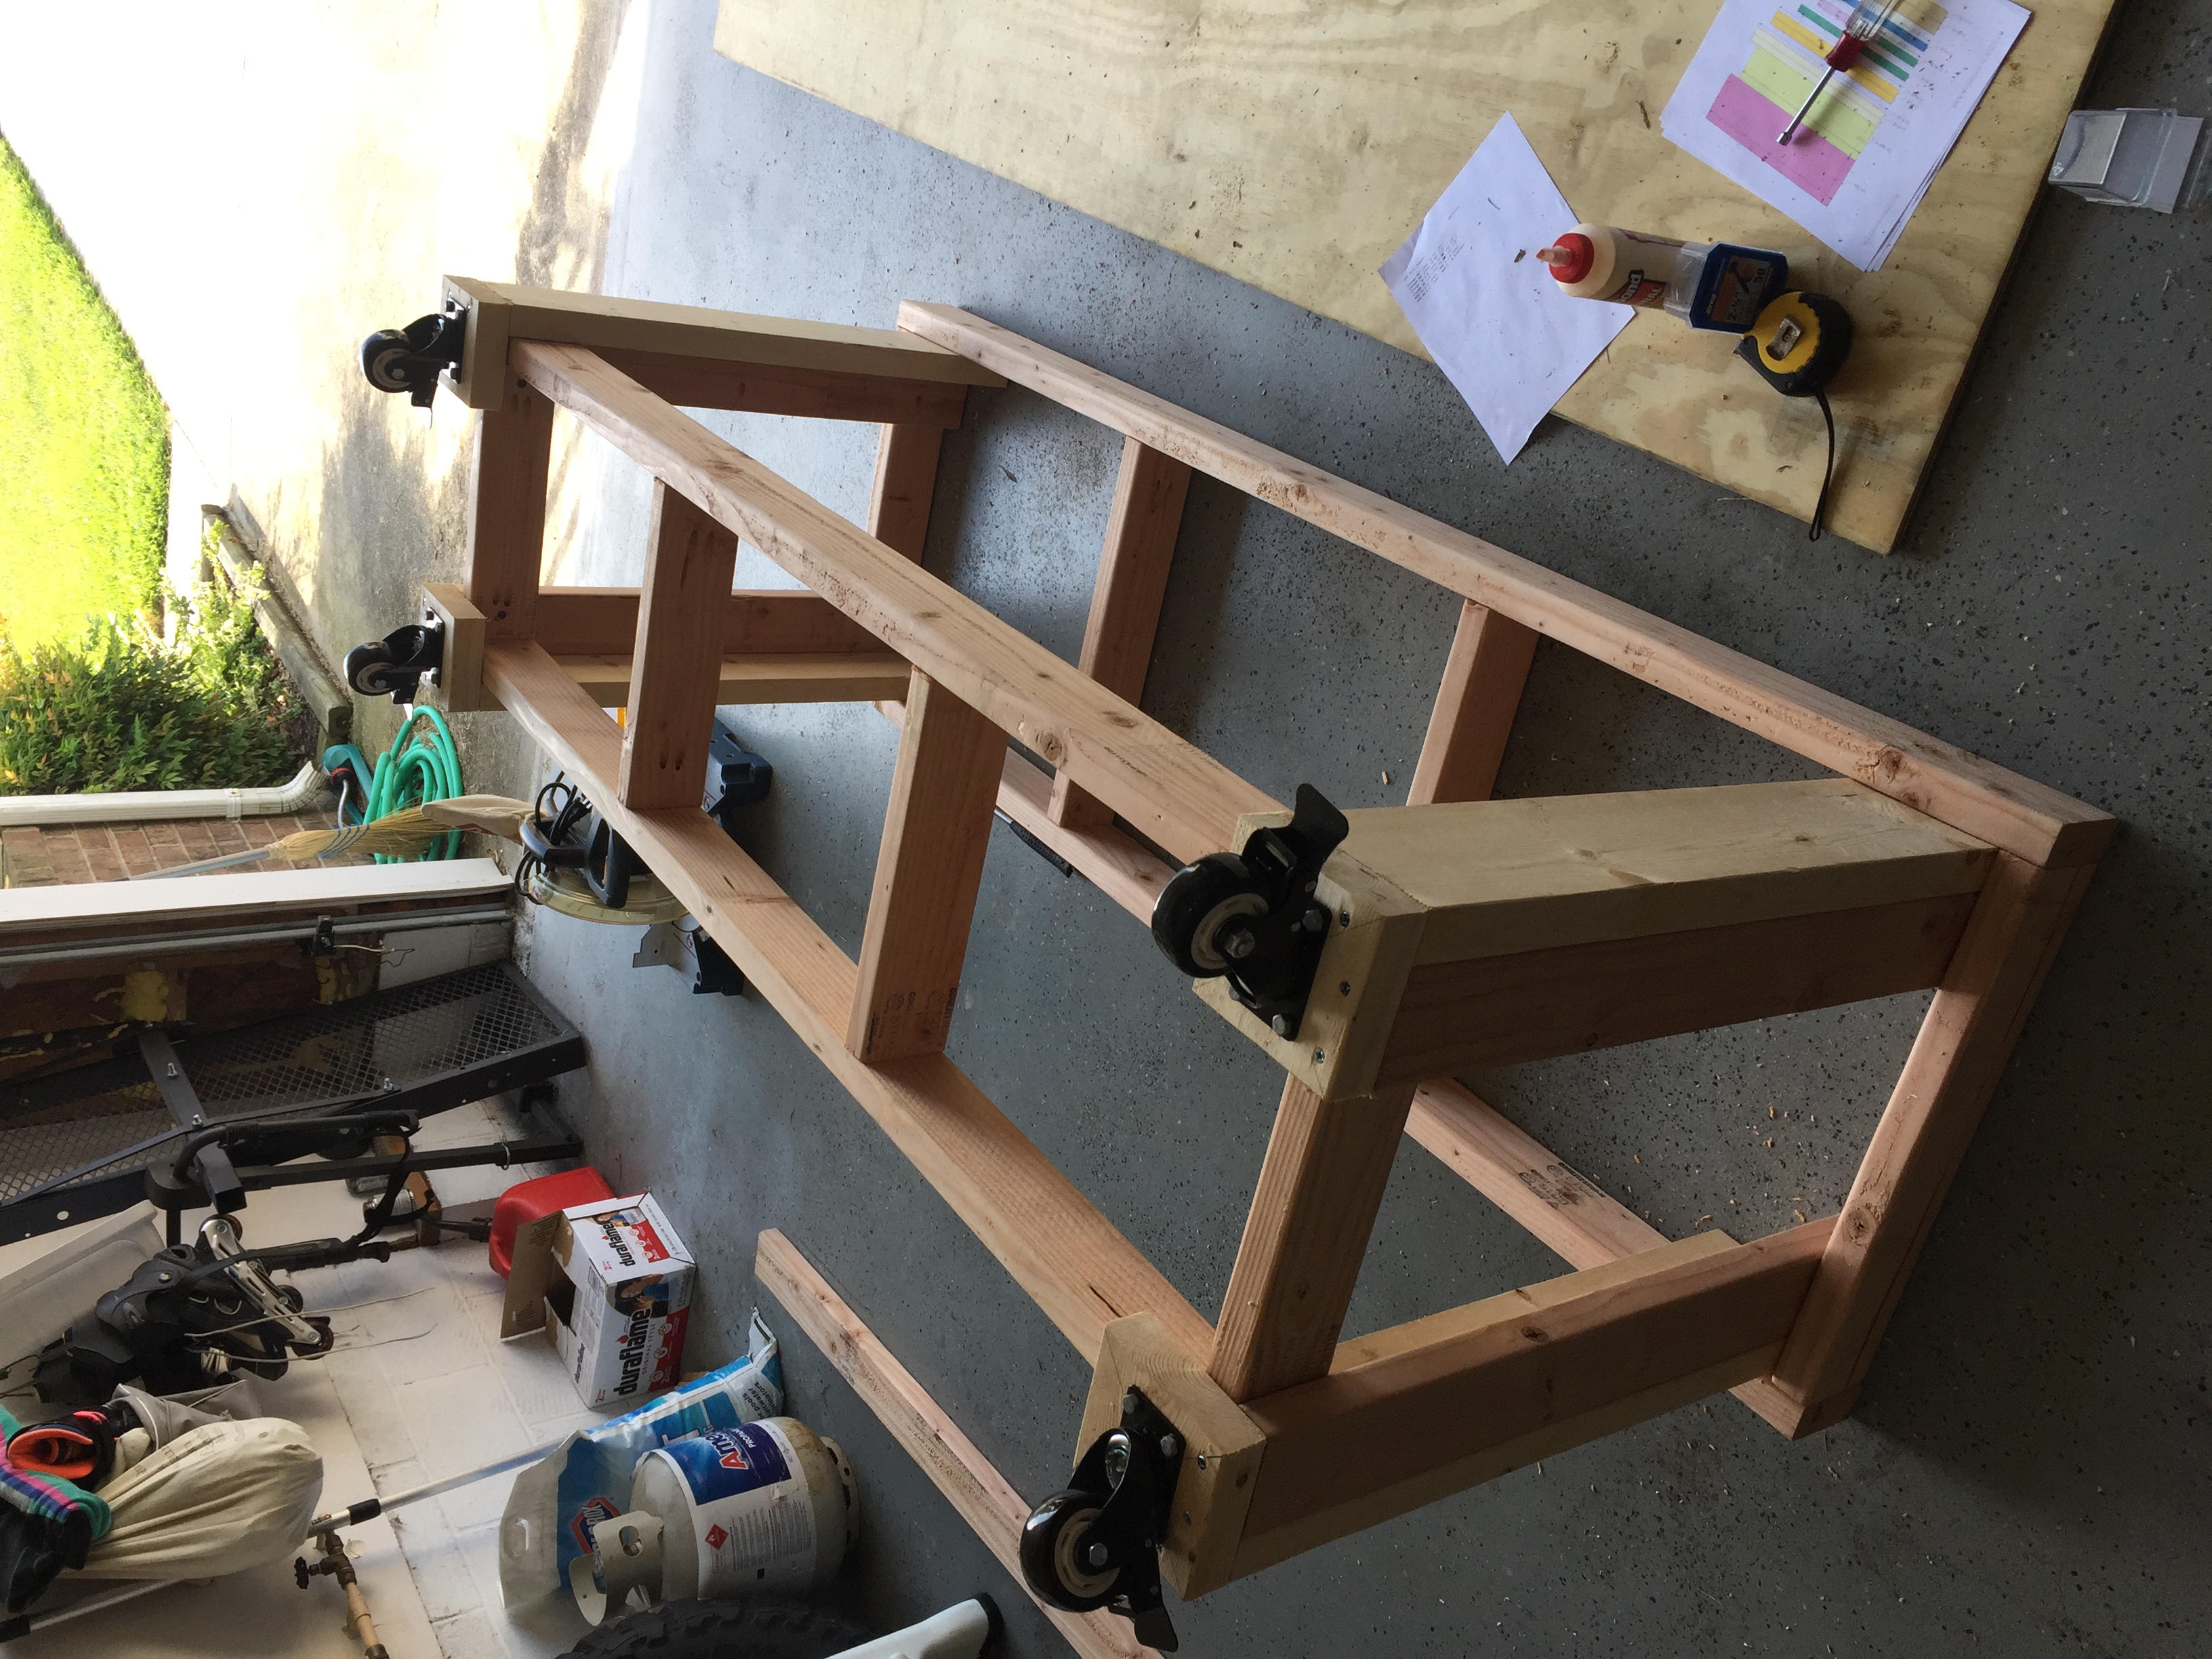
Attached the legs to the shelf using wood screws Then attached the legs to the top using wood screws. Installed the casters to the pads on the legs.
Cut the plywood for the shelf and top. Attached the shelf and top with the nail gun. All done!
Great easy project, go here to get the plans: DIY Workbench – Free Plans
Have fun!


