The Home Lab “Black Friday” Upgrade
I have been running my home lab in Workstation for a good while now and it has served me well especially throughout my VCAP-DCA study. I am starting to do a bit more testing and proof-of-concept stuff with vSphere 5 and VDI so I need a little more. I have decided to invest in a beefy “whitebox” setup with ESXi 5.1 to run AutoLab.
So here is the new parts I put together. I chose the Shuttle SH67H3 barebone system since it supports up to 32GB RAM and the Intel i7. With some “Black Friday” deals at NewEgg.com I was able to put together a system that should work well for under $850.
Here is my new parts lists. The prices shown are the sale prices I paid and shipping was FREE.
Here is a picture of the new gear after it was unpacked.

So here is how I set things up.
The 500GB drive is used for all the Autolab VMs, including the NAS. I added a third 100GB disk to the NAS on the 128GB Flash drive to use as “Tier 1” storage for my AutoLab nested VMs. I created a separate NFS export for this on the FreeNAS VM and manually add the datastore on my hosts (not part of the AutoLab build). Here is a post I put together on how to do this. @DemitasseNZ sent me a tweet to say the next version of AutoLab will have some more pre-configured storage provisioned on the NAS.
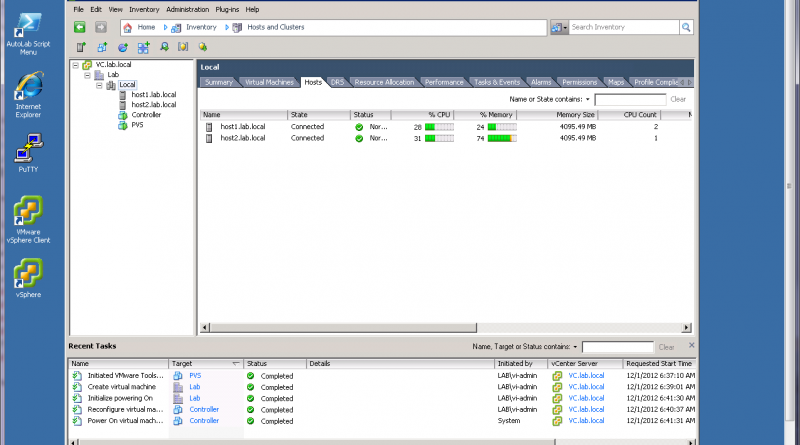
I increased the RAM in the AutoLab ESXi hosts to 4 GB and set the reservation for the VMs to 4GB. This dedicates RAM to the nested ESXi hosts while still leaving plenty of RAM (24GB) available for the other supporting VMs. Depending on how things go I may up this a bit more.

Running nested 64-bit Guest VMs with AutoLab on ESXi 5.1
ESXi 5.1 installed without issue. Network cards and hard drives all recognized right out of the box 🙂 The issue I did have was with running nested 64bit guest VMs on the AutoLab ESXi hosts. This is because of some changes with the way VHV (Virtual Hardware-Assisted Virtualization) has to be enabled for the guests running on ESXi 5.1 that will be running nested VMs.
Here is a fantastic article on what needs to be done to enable VHV to allow nested VMs to run on virtual ESXi hosts running as guests on ESXi 5.1 http://www.virtuallyghetto.com/2012/08/how-to-enable-nested-esxi-other.html. Basically the AutoLab hosts VMs need to have their hardware version upgraded to 9 and then vhv.enable = “true” needs to be added to the host VMs’ .vmx file.
Ready. Set. Go!
All put together and in its new home. Now time to get to work.

First tasks… some Citrix XenDesktop stuff. Starting to build the necessary VMs.

More on that in another post 🙂
If you are looking to build a home lab for VCP or VCAP prep AutoLab makes the process extremely easy. Saves you a ton of trial and error time giving you a nice vSphere lab environment so you can quickly focus on study and lab task.
Go. Download. Now! http://www.labguides.com/autolab/


Nice build,
Had the same idea to buy Shuttle for VCP preparation, but wasn’t sure if it’s compatible with vSphere 5. So, decided to go with supermicro motherboards.
Anyway… I’ll save this for next projects in case will need a new server. 😉
If you were preparing for the 5.1 VCAP exam would you rather have only one of these whitebox systems with ESXi or a powerful Win7 client with workstation installed if you were trying to keep the total lab budget under a $1000?
Ideally, I would rather have two of these with a dedicated NAS device and physical network hw, but I’m space and budget constrained at the moment.
David,
Either option will work great for VCAP study. In fact I did all of my VCAP-DCA study on a Windows 7 Pro box with 16 GB of RAM running Workstation 8.
The new box running ESXi and AutoLab takes things to the next level. Right now I am doing some SRM testing where I am able to run two “sites” protected by SRM on the single ESXi box, I don’t think my Workstation lab would be able to handle it.
Check out AutoLab http://www.labguides.com/autolab/ running in Workstation for a budget friendly environment running on a laptop or desktop. Most VCAP-DCA objectives can be practiced with the AutoLab set up. Here is a write up I did on it a bit ago http://www.vhersey.com/2012/10/autolab-home-lab-build/.
Hope this helps and good luck.
Hersey
Hi there,
Awesome setup – one question, did you need to install a separate graphics card? If not, what did you use and how did you connect a monitor?
Cheers
Ryan
Ryan,
When a monitor is needed there is on-board video on the motherboard. Once ESXi is installed and the management IP address is configured you no longer need a monitor connected to machine. When the management IP is set all access and configuration is done using the vSphere Client.
Thanks
Hersey
I’m putting together a VCP 5.1 Whitebox lab similar to yours and had a question on the memory. I’m looking at using the Muskin memory:
Mushkin Enhanced Blackline 32GB (4 x 8GB) 240-Pin DDR3 SDRAM DDR3 1600 (PC3 12800) Desktop Memory
Model 994110 says Voltage: 1.35V
Model 994050 says Voltage: 1.6V
Reading about the Shuttle barebones system below I’m getting doesn’t say which voltage to use, how do I know which one to select?
http://www.newegg.com/Product/Product.aspx?Item=N82E16856101129
Hi Hersey,
Does your lab (based on Shuttle SH67H3) support installing/upgrading vSphere 6?
I am setting up a home lab and planning to buy some Shuttle box
Thanks,
Bayu